Hey there! As a supplier of Refractory Ceramic Fiber Board, I'm super stoked to share with you how to install this awesome product. Whether you're a DIY enthusiast or a professional in the industry, this guide will walk you through the process step by step.
What is Refractory Ceramic Fiber Board?
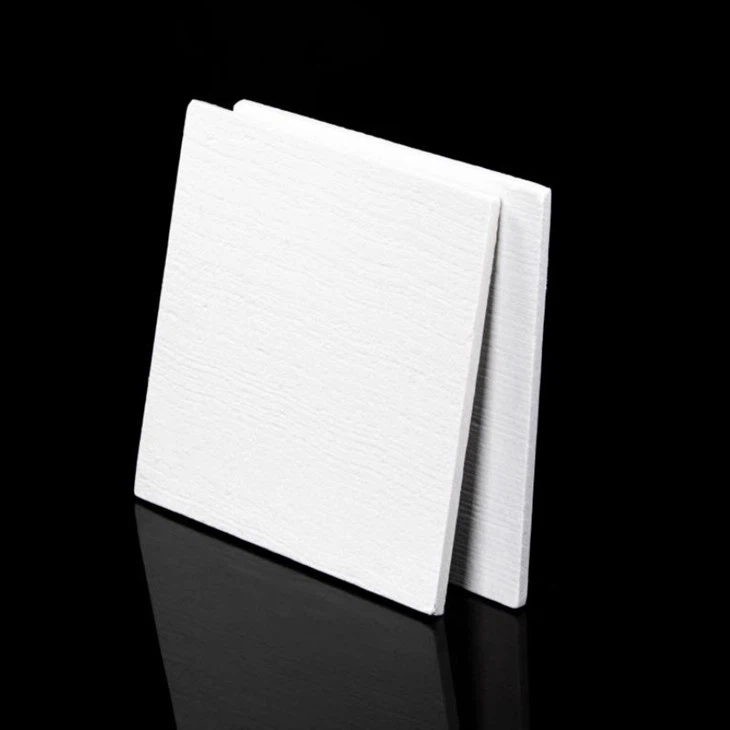
Before we jump into the installation process, let's quickly talk about what Refractory Ceramic Fiber Board is. It's a high - performance insulation material made from ceramic fibers. It has excellent thermal insulation properties, low heat storage, and good chemical stability. This makes it ideal for a wide range of applications, from industrial furnaces to home fireplaces.
Tools and Materials You'll Need
First things first, gather all the tools and materials you'll need for the installation. Here's a list:
- Refractory Ceramic Fiber Board: Make sure you have the right size and thickness for your project. We offer different types like Ceramic Fiber Vacuum Formed Special Shape, Lining Ceramic Fiber Board, and 1/4 Inch Ceramic Fiber Board.
- Adhesive: A high - temperature adhesive is crucial to ensure the board stays in place.
- Cutting Tools: A sharp utility knife or a saw, depending on the thickness of the board.
- Measuring Tape: To measure the area where you'll be installing the board.
- Safety Gear: Gloves, goggles, and a dust mask to protect yourself from the fibers.
Step 1: Prepare the Surface
The first step in installing the Refractory Ceramic Fiber Board is to prepare the surface. The surface should be clean, dry, and free of any debris, oil, or rust. If it's a metal surface, you might want to sand it lightly to create a better bonding surface. Use a wire brush or sandpaper to remove any rough spots or contaminants.
Step 2: Measure and Cut the Board
Once the surface is ready, measure the area where you'll be installing the board. Use a measuring tape to get accurate dimensions. Then, transfer these measurements to the Refractory Ceramic Fiber Board. If you need to cut the board, use a sharp utility knife for thinner boards. For thicker boards, a saw might be more appropriate. Make sure to cut the board as precisely as possible to ensure a proper fit.
Step 3: Apply the Adhesive
Now it's time to apply the adhesive. Follow the manufacturer's instructions on the adhesive for the best results. Usually, you'll need to apply a thin, even layer of adhesive to the back of the board. Use a notched trowel or a brush to spread the adhesive evenly. Make sure to cover the entire surface of the board where it will come into contact with the installation surface.
Step 4: Install the Board
Carefully place the board with the adhesive side down onto the prepared surface. Press it firmly to ensure good contact and adhesion. You might need to use a roller or a flat tool to apply even pressure across the board. If you're installing multiple boards, make sure to leave a small gap between them to allow for expansion. This gap should be about 1/8 inch or so.
Step 5: Secure the Board
After placing the board, you can use mechanical fasteners like pins or clips to provide additional security, especially in high - vibration or high - stress areas. Make sure the fasteners are made of a material that can withstand high temperatures.
Step 6: Finish the Installation
Once all the boards are installed, check for any gaps or uneven areas. You can use ceramic fiber blanket or additional adhesive to fill in any small gaps. Trim any excess board edges with a sharp knife to give the installation a clean look.

Tips and Tricks
- Work in a well - ventilated area to avoid inhaling the ceramic fibers.
- If you're installing the board in a curved or irregular surface, you might need to cut the board into smaller pieces and fit them together like a puzzle.
- Keep the boards away from moisture during storage and installation, as moisture can reduce their insulation properties.
Common Mistakes to Avoid
- Not preparing the surface properly: This can lead to poor adhesion and the board coming loose over time.
- Using the wrong adhesive: Make sure to use an adhesive that is suitable for high - temperature applications.
- Cutting the board too small or too large: This can result in a poor fit and reduced insulation efficiency.
Conclusion
Installing Refractory Ceramic Fiber Board isn't too difficult if you follow these steps. It's a great way to improve the insulation of your industrial equipment or home fireplace. If you have any questions or need more information about our products, feel free to reach out. We're here to help you with your insulation needs and can provide you with the best Refractory Ceramic Fiber Board solutions. Whether you're looking for Ceramic Fiber Vacuum Formed Special Shape, Lining Ceramic Fiber Board, or 1/4 Inch Ceramic Fiber Board, we've got you covered. Contact us to start a procurement discussion and find the perfect solution for your project.
References
- Ceramic Fiber Insulation Handbook
- Manufacturer's instructions for Refractory Ceramic Fiber Board and Adhesive


